Table of contents
This will be short and sweet. We want to serve an HTML file using node.js and express.js. To make it a bit more interesting, we'll do a lot from the command line.
The Setup
Open up your VSCode. Go to the terminal, then type the following to make a directory (folder) called node-server.
mkdir node-server
Now that you made the directory, you will want to move into that directly. Type this.
cd node-server
So now you're in the node-server folder. Go ahead and initialize the folder with node. Type in these lines. Be sure you have node installed! Otherwise, it won't work.
npm init -y
The -y just accepts all default values for your package.json. We don't need to name them, the default values will be fine. To make sure that everything will be working, go into your package.json file and look for...
...
"scripts" {
    "start": "node server.js"
...
}
This will allow us to use multiple commands to 'start the server.' You can use node server.js or you can also use npm start.
Okay, let's create a server.js file by typing in the terminal the following line.
touch server.js
Great, now we'll add a 'public' folder and add an 'index.html' file and a 'style.css' file...
mkdir public
cd public
touch index.html
touch style.css
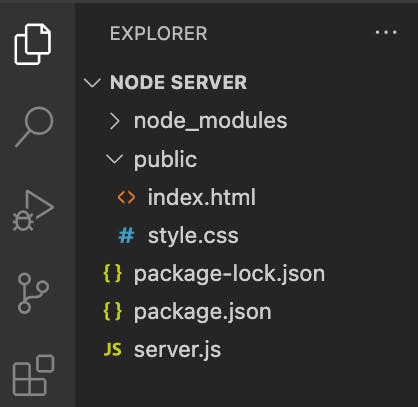
Now, your directory should look something like this.

If that's what it looks like, then you're good to go.
Now, let us install our dependencies. In the terminal again, type in the following to install express.
npm install express.
Express makes your life a bit easier when you create a server, so that's why we're using it.
Server.js file
Go into your server.js file and now let's get started with the code. Type in the following.
const express = require('express')
const app = express()
const PORT = 3000 // this can be any number -> usually 3000-8080


app.listen(PORT,  () => {
       console.log(`Your server is running on port ${PORT}`
}
To test this out, go to your terminal and type in this line.
node server.js
You should get a log of Your server is running on port 3000. Way to go, you have just made a server. Cheers to you!
Serving and HTML file
So let's go deeper, and we'll add our HTML file to this.
I've already added a simple layout for your first served HTML webpage, so feel free to copy the HTML file below. Also include the CSS file too.
<!DOCTYPE html>
<html lang="en">
<head>
    <meta charset="UTF-8">
    <meta http-equiv="X-UA-Compatible" content="IE=edge">
    <meta name="viewport" content="width=device-width, initial-scale=1.0">
    <link rel="stylesheet" href="style.css">
    <title>Document</title>
</head>
<body>
    <nav>
        <h1>The <span>FIRE</span> movement</h1>
        <div>
            <p>Sign In</p>
            <a href="#" >Connect</a>
        </div>
    </nav>

    <section>
        <div>
            <img src="https://images.unsplash.com/photo-1468818438311-4bab781ab9b8?ixlib=rb-1.2.1&ixid=MnwxMjA3fDB8MHxwaG90by1wYWdlfHx8fGVufDB8fHx8&auto=format&fit=crop&w=1742&q=80" alt="freedom" />
        </div>
        <div>
            <h1>Join Us on the <span>FIRE</span> revolution</h1>
            <p>Lorem, ipsum dolor sit amet consectetur adipisicing elit. Porro totam recusandae magni error, quis exercitationem officia alias earum culpa consequatur quas sunt perferendis deleniti labore esse iure necessitatibus amet repudiandae. Quis exercitationem officia alias earum culpa consequatur quas sunt perferendis deleniti labore esse iure necessitatibus amet repudiandae.</p>
            <a href="#">Learn More</a>
        </div>
    </section>

</body>
</html>
After you've added that to your index.html file, now you can add the styling. This is what I chose.
body {
    margin: 0;
    padding: 0;
}

nav {
    width: 100%;
    height: 60px;
    display: flex;
    justify-content: space-around;
    align-items: center;
    box-shadow: 10px 10px 10px 6px rgba(0,0,0,0.3);
}

nav>h1>span {
    color: indigo
}

nav>div {
    display: flex;
    align-items: center;
}

nav>div>a {
    display: block;
    padding: 10px;
    border-radius: 5px;
    border: none;
    background-color: blueviolet;
    color: white;
    font: bold;
    text-decoration: none;
    margin-left: 4rem;
}

section {
    width: 100vw;
    margin-top: 100px;
    display: flex;
    justify-content: center;
    align-items: center;
}

section>div {
    width: 50%;
    height: 100%;
    padding: 25px
}

section>div>img {
    object-fit: cover;
    width: 100%;
}

section>div>h1 {
    font-size: 3rem;
}

section span {
    border-bottom: 5px solid indigo;
}

section p {
    line-height: 1.3rem;
}

section a {
    display: inline-block;
    padding: 10px;
    border-radius: 5px;
    border: none;
    background-color: blueviolet;
    color: white;
    font: bold;
    text-decoration: none;
}
So that should be the index.html and the style.css files all good to go.
Now, go back to the server file. We'll need to add the following code.
app.use(express.static('public'))

app.get('/', (req, res) => {
    res.sendFile('index.html')
})
The app.use helps direct the server file to the public folder and will grab all the content from that folder. Since we are only using static files, this will be fine.
What the next part of the code does is "gets" the / branch of port 3000, which is just 'localhost:3000' or the homepage. This function takes in the parameters of a request (req) to the server, and will respond with a response(res). Now, with that response, we want to send something with it.
The res.sendFile is going to send a file. Express makes this easy since we've already used the app.use(express.static('public'). Now, all we need is to add index.html behind our sendFile function.
So, our app is getting the root, sending a request, and then receiving a response which will be the index.html file.
Here is the completed server.js file.
const express = require('express')
const app = express()
const PORT = 3000

app.use(express.static('public'))

app.get('/', (req, res) => {
    res.sendFile('index.html')
})

app.listen(PORT, () => {
    console.log(`Your server is running on port ${PORT}`)
})
The Live Page
To see your page live, make sure to stop your server in the terminal by running [ctrl-c] and then start it up again by running
npm start
Navigate to localhost:3000 and checkout your webpage!
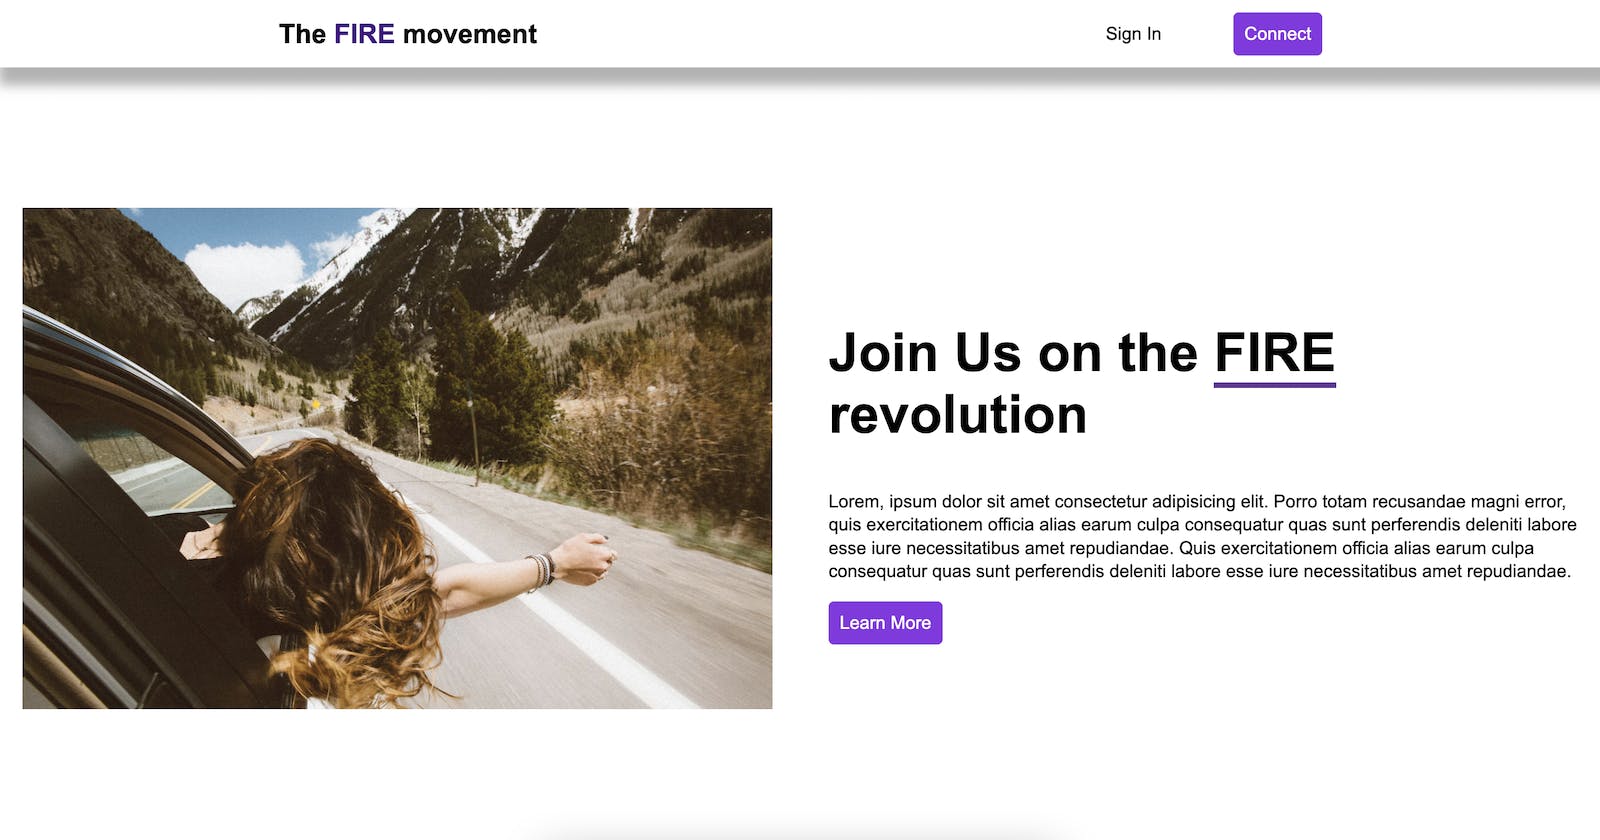
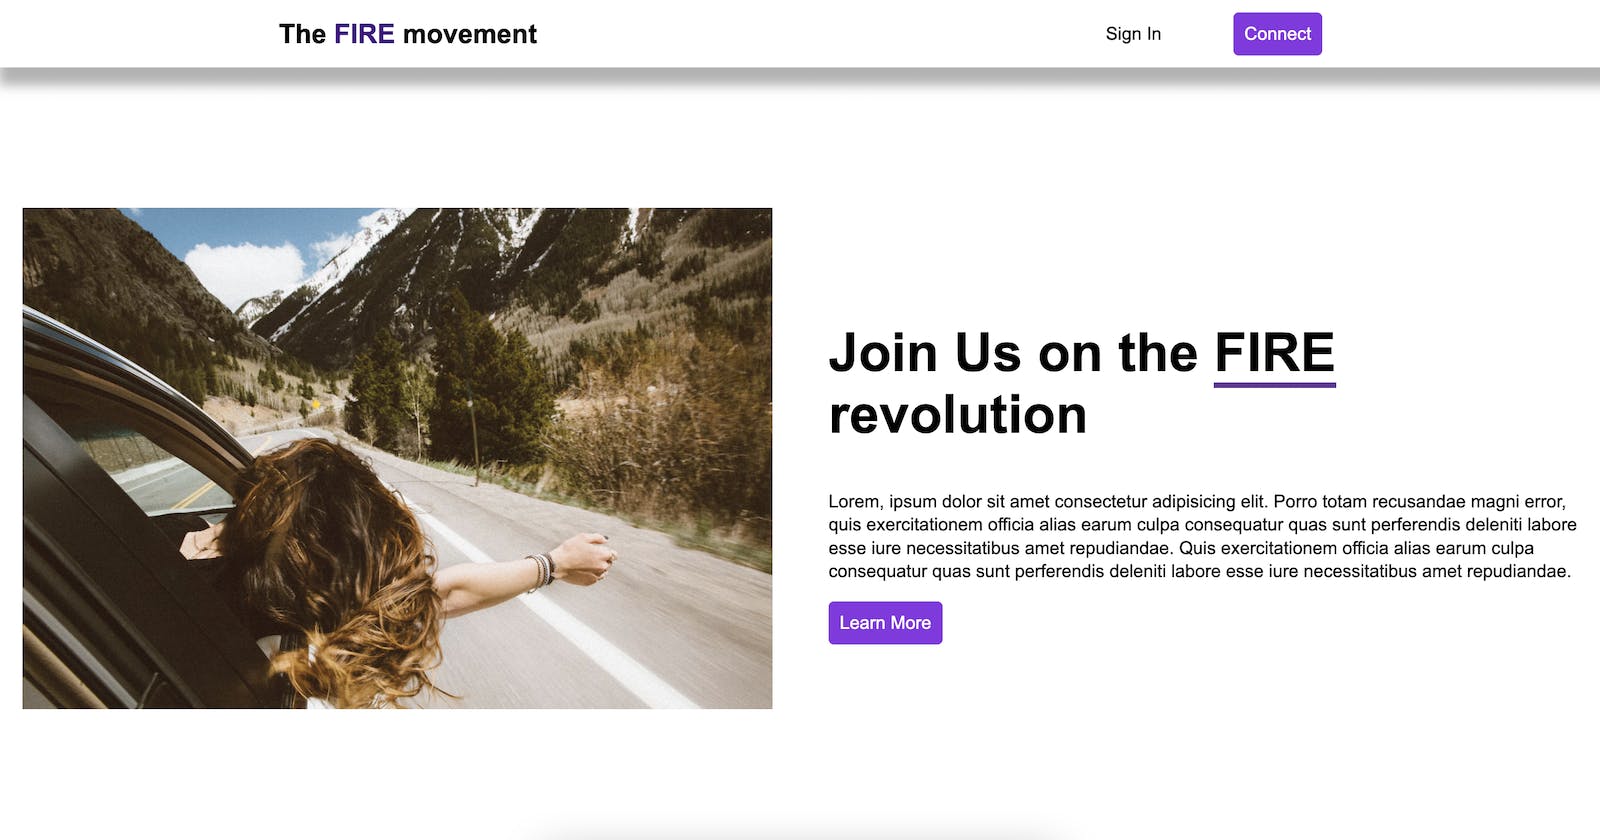
Congratulations! You are now serving up a webpage with Node and Express! It should look something like this...

If you liked this article please follow me on Hashnode for my latest articles. I'm tweeting my journey on Twitter daily, this way to my LinkedIn, finally you can see my codebase on GitHub
Thanks!

